AMOVELLE Beauty
Makeup brushes collect foundation, powder, skin oils, and residue between uses. A damp brush left in a closed makeup bag can also become an unhelpful place for buildup. Cleaning them is a small routine, but it can matter for both makeup application and skin comfort. So, how to disinfect makeup brushes safely without damaging the bristles or irritating your skin? The answer depends on the brush material, the product used, and how thoroughly the brush dries.
This introduction looks at practical hygiene, not dramatic promises. For many everyday brushes, gentle washing with a suitable cleanser and clean water removes visible makeup and residue. Disinfection is a separate step: products should be used only as directed, and harsh household cleaners do not belong on tools that touch your face. Keep water away from the ferrule—the metal collar—where loosened glue may weaken the brush. Rinse until the water runs clear, reshape the bristles, and dry the brush flat with its head over the edge of a clean towel. Take your time. A brush that feels dry on the surface may still hold moisture inside. There is no single routine that fits every tool, and that is easy to overlook. Check manufacturer guidance, especially for delicate natural bristles, and replace brushes that shed, smell unusual, or cannot be cleaned properly. For persistent skin irritation, pause use and seek qualified advice rather than relying on brush cleaning alone.
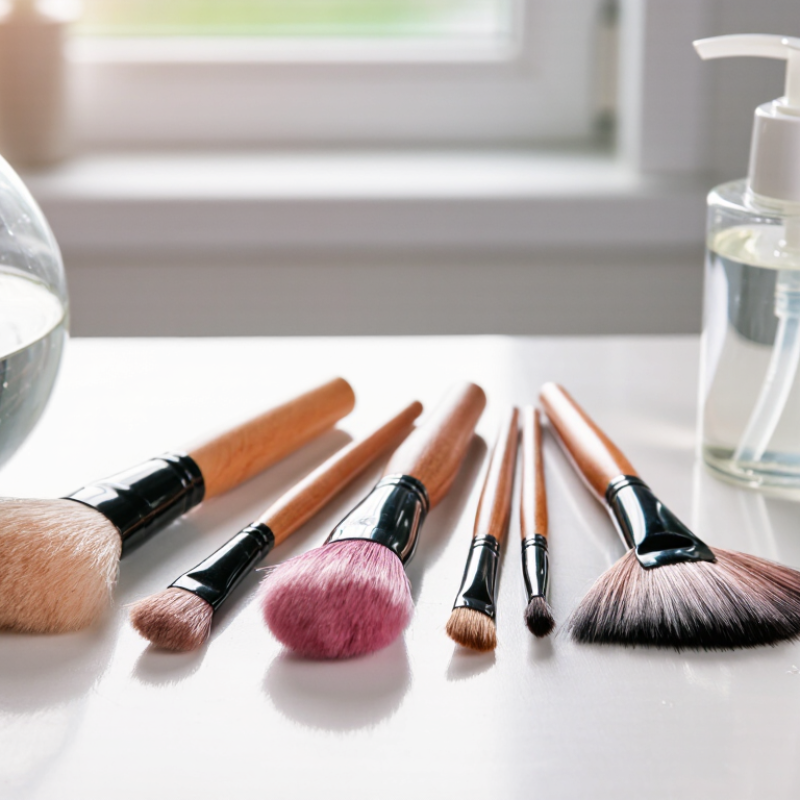
Why Should You Disinfect Makeup Brushes Safely?
Makeup brushes pick up more than pigment. Each sweep can gather skin oil, foundation, dead skin, and moisture between the bristles. When the brush touches your face again, some residue travels back with it. A shared brush can also pass microbes from one person’s skin to another’s. The risk is more concerning around irritated or broken skin, though contamination does not automatically mean infection. Clean-looking is not the same as clean.
A 2019 study in the Journal of Applied Microbiology examined 467 used cosmetic products and reported bacterial contamination in about nine out of ten samples. The researchers also found that 93% of beauty blenders had never been cleaned. Beauty blenders are not brushes, so those figures should not be treated as brush-specific results. Still, they show how easily applicators can be neglected. The U.S. Food and Drug Administration likewise identifies consumer handling and storage as possible sources of cosmetic contamination.
Brushes can hold damp product near the ferrule, where bristles meet the handle. That hidden patch may stay wet after a rushed rinse. Regular cleaning, thorough drying, and avoiding shared tools can reduce buildup; use a method suitable for the brush and its intended use. I sometimes mistake a quick rinse for a full clean. It isn’t. Cleaning removes residue; disinfection is a separate step and should be done safely, without leaving irritating chemicals on skin-contact bristles.
| Brush Factor | What Can Collect or Transfer | Why It Matters | Safer Care Practice |
|---|---|---|---|
| Skin oils and sweat | Sebum, sweat, and dead skin cells can build up on bristles during repeated use. | Residue can make bristles feel less clean and may be moved back onto the skin during application. | Wash brushes used with liquid or cream products regularly, and let them dry completely before use. |
| Makeup residue | Foundation, concealer, powder, and other product particles can remain between bristles. | Accumulated product can affect application and create a buildup that is harder to remove over time. | Use a gentle brush cleanser or mild soap with lukewarm water; rinse until the water runs clear. |
| Microbes from skin and surroundings | Brushes may pick up microorganisms from skin, hands, makeup surfaces, or storage areas. | Sharing brushes or using unclean tools can spread contaminants between people or areas of the face. | Do not share personal brushes. Clean tools after use on another person and follow applicable hygiene procedures. |
| Moist bristles | Water can remain in a brush if it is stored before it has dried thoroughly. | Damp storage can encourage unwanted microbial growth and may weaken the brush over time. | Reshape the bristles and dry the brush flat or with the bristles angled downward in a well-ventilated area. |
| Eye-area brushes | Product and microbes can transfer between the brush, eyelid, and eye area. | The eye area is sensitive, so contaminated or irritating tools may contribute to discomfort or infection risk. | Clean eye brushes frequently, avoid sharing them, and stop using a brush that is visibly dirty or damaged. |
| Brush handles and storage | Hands, counters, makeup bags, and shared storage can contaminate handles and bristles. | A clean brush can become dirty again if it touches unclean surfaces or is stored with damp tools. | Wipe handles as needed, keep brushes in a clean, dry place, and avoid letting bristles rest on a sink or counter. |
| Cleaning and disinfection | Cleaning removes visible product and soil; an appropriate disinfectant can reduce certain microorganisms when used as directed. | Disinfection is not a substitute for removing residue first, and unsuitable chemicals may irritate skin or damage bristles. | Clean before disinfecting when appropriate. Use only a product labeled as suitable for the tool and follow its contact time and safety instructions. |
Practical reminder: Cleaning frequency depends on brush use and product type. Follow the brush and cleanser care instructions, and replace brushes with shedding, frayed, or persistently soiled bristles.
They can hold skin oil, foundation, dead skin, and moisture between the bristles. Looks can mislead.
Residue can travel back to your face with each use. Shared brushes may also transfer microbes between people.
No. Cleaning removes visible makeup and oils. Disinfection reduces microbes after residue has been removed.
Choose a product labeled for makeup brushes. Follow its contact-time and rinsing directions.
Avoid prolonged soaking. Water trapped near the ferrule can weaken the adhesive or loosen the handle.
Use lukewarm water and mild soap. Point the bristles downward, and avoid flooding the ferrule.
Gently press out water with a clean towel. Lay the brush flat, with its bristles extending beyond the towel’s edge.
Inspect the ferrule after drying. If it feels loose, retire the brush. I sometimes rush this check. That may be a mistake.
Makeup brushes can collect oil, leftover product, dead skin, and microbes with regular use. When these build up, brushes may spread residue back onto the skin and become less pleasant to use. Cleaning removes visible buildup, while disinfection is a separate step that reduces microbes. Choose a brush-safe product and follow its directions; harsh or unsuitable substances may weaken bristles or damage the ferrule that holds them in place.
To learn how to disinfect makeup brushes safely, first remove makeup residue with a gentle wash, then apply an appropriate disinfecting product as directed. Avoid soaking the ferrule, which can loosen the adhesive, and handle the bristles gently. The American Academy of Dermatology advises washing makeup brushes every 7–10 days. Afterward, rinse when required, reshape the bristles, and let brushes dry fully in a well-ventilated area, ideally with the bristles positioned to limit water entering the ferrule. Store dry brushes somewhere clean to reduce recontamination.